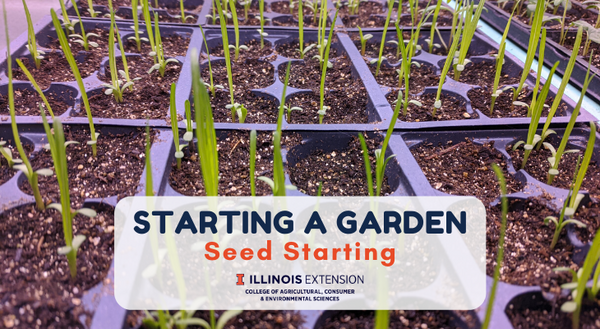
Spring is finally here! March 19, 2020 is the earliest first day of spring it's been in 124 years. Many of us are finding ourselves spending more time at home and looking forward to gardening, in many cases for the first time. In the coming weeks, the Good Growing team - Chris, Katie, and I - will be doing several articles on starting a garden.
Seed starting is a popular way to kick off the gardening season. If you've never started your seeds before, there are several advantages to doing so.
Why should you start seeds indoors?
- Better germination rates because you are providing ideal conditions.
- Less competition from other plants.
- Fewer insect and disease problems.
Starting seeds to make your own transplants can also be cheaper than going out and buying them later in the year. You also have a lot more variety to choose from when you start your own seeds compared to purchasing transplants from the store. There are hundreds of varieties compared to a handful when it comes to popular plants like tomatoes.
Supplies for Starting Seeds
Fortunately, starting seeds isn't difficult. There are just a few things you need to get started: your desired seed, a container to start them in, some growing media, water, and light.
Growing Media: Select a seed starting mix, not garden soil for your growing media. Garden soil is going to have weed seeds and possibly diseases in it. Additionally, garden soil tends to be very dense and heavy, which means it won't drain as well as seed-starting or potting soil will. Seed starting mix is sterile and is usually made from milled peat moss, perlite, coconut coir, and vermiculite. This combination provides a light fine-textured media that is ideal for starting seeds.
Container: There are a variety of different options from plastic sheets of small containers (cell flats), plastic pots, peat pots, eggshells, toilet paper tubes, to egg cartons. Whatever you choose, make sure it can hold your media while allowing excess moisture to drain away (i.e., drainage holes).
Lighting: Fluorescent grow lights are often used; however, you can use regular fluorescent bulbs, a desk lamp, or even a windowsill. If you decide to start your seeds on a windowsill, make sure it has a good southern exposure, and it isn't drafty. You may still need to provide some supplemental lighting. For a more in-depth look, check out Chris's post on supplemental lighting for seed starting.
Seeds: Once you've selected the seeds you want to grow, look at the back of the package. It will tell you when the seeds should be sown or planted. Example: X numbers of weeks before the last frost. It may also tell you how deep the seeds need to be planted.
How to start plants from seed
- Prepare the growing media: Pre-moisten your media by mixing it with enough water so it holds its shape when you grab a handful but it isn't dripping. Fill your container with the wet seed starting media. Make sure the media is settled, and there aren't large air pockets in the container.
- Plant the seed: Make an indentation in the media to the recommended depth. Place 2-3 seeds inside this indentation and cover with the recommended amount of media. Press the media down to make sure there is good contact with the seeds.
- Water: Gently mist the media with water.
- Cover the container: The container can then be covered with plastic to help retain moisture and warmth. Remove the plastic to spray the container if the media dries out. If uncovered, the media will need to be watered more often. Once the seeds begin to germinate, remove the plastic cover.
- Keep them warm: If you are starting seeds in a cool area, it may be a good idea to get a heat mat that is specifically made for starting seeds so that the seeds will properly germinate, and to prevent disease problems.
As your seedlings grow, keep your lights 3 inches above the tallest plant and provide them with 12-16 hours of light a day. It may be a good idea to get a light timer (the kind you use for Christmas tree lights), so you don't have to worry about remembering to turn lights on and off.
Water media as needed, making sure it remains moist. Once the seedlings produce their first true leaves, you can water with a weak fertilizer.
Before you know it, it will be time to take them outdoors and place them in the ground. Make sure to slowly harden them off before moving them outside permanently.
Good Growing Tip
By mid-to late-March, it's too late to start cool-season vegetables such as broccoli, Brussels sprouts, cabbage, and cauliflower which should be started from seed in late February and early March. But there's plenty of time to start warm-season vegetables such as tomatoes and peppers, which can be started mid-March to early April.
Subscribe to Good Growing
Want to get notified when new Good Growing posts are available? SIGN UP HERE!
Don't feel like reading? Check out Chris Enroth's seed-starting video!
MEET THE AUTHOR
Ken Johnson is a Horticulture Educator with University of Illinois Extension, serving Calhoun, Cass, Greene, Morgan, and Scott counties since 2013. Ken provides horticulture programming with an emphasis on fruit and vegetable production, pest management, and beneficial insects. Through his programming, he aims to increase backyard food production and foster a greater appreciation of insects.